
In a world where digital reigns supreme, those dusty old photo albums are begging for a modern makeover. Imagine flipping through your family history with just a swipe of your finger. With an iPhone in hand, scanning old photos becomes a breeze—no time machine required.
He’s not just talking about dodging awkward family reunions; he’s talking about preserving precious memories for future generations. Whether it’s that epic vacation from ’98 or Grandma’s questionable fashion choices, turning those fading prints into digital keepsakes is easier than finding out who forgot to charge the phone.
Why Scan Old Photos?
Scanning old photos offers countless benefits. It preserves sentimental memories that families cherish.
Preserving Memories
Memories fade over time. Digitizing old photos safeguards them from deterioration and potential loss. An original photograph might be susceptible to damage from sunlight or moisture. Once scanned, these once-vulnerable images remain intact for future generations. They can enjoy family vacations, milestones, and laughs collectively. Digitization also allows for better organization and management of family history, making it easier for future generations to access and appreciate.
Sharing with Others
Sharing digital photos expands opportunities for connection. Scanned images can easily be shared across various platforms, including social media and email. Friends and family can instantly access these cherished moments, regardless of location. It’s possible to create digital albums that everyone can contribute to. This sharing fosters bonds between relatives, even those separated by distance. Enhanced accessibility ensures that family stories and legacies are preserved and celebrated collectively.
Preparing Your Photos for Scanning
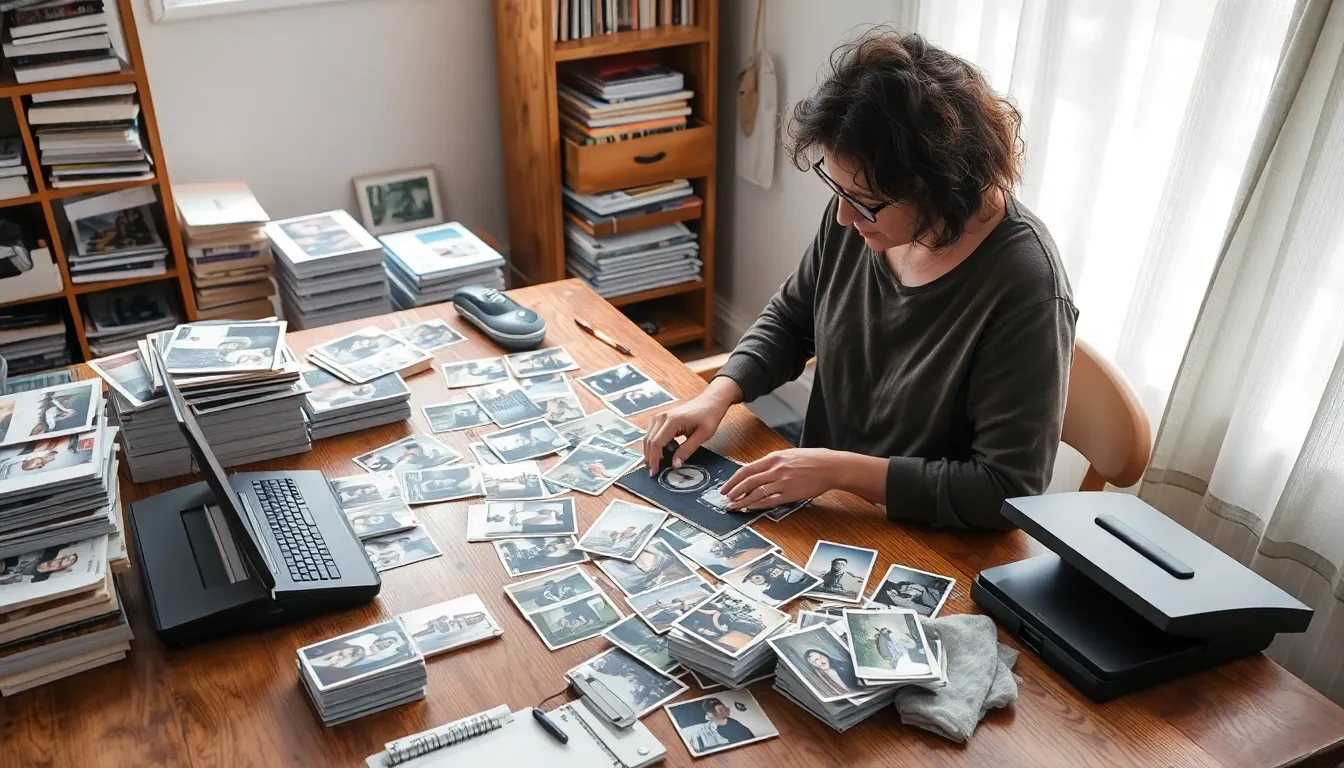
Preparing old photos for scanning enhances the quality of the digital files. Focus on cleanliness and proper setup to achieve the best results.
Cleaning and Organizing
Start by gently removing dust from the surface of each photo using a soft, lint-free cloth. Make sure to handle the edges to avoid fingerprints. Organize photos by date or event to streamline the scanning process. This organization not only simplifies scanning but also aids in creating a cohesive digital collection. Dispose of any duplicates or damaged photos that don’t contribute to the family narrative. Sorting photos into labeled folders will improve access during digitization, ensuring a smoother workflow.
Choosing the Right Location
Select a well-lit, clutter-free area for scanning photos. Natural light works wonders as it reduces glare and showcases colors accurately. Avoid direct sunlight, which can create harsh shadows and cause fading. Place a mat or clean surface underneath the scanner to protect photos from scratches. Ensure minimal background noise to help maintain focus during the scanning process. A comfortable height for scanning makes the task more enjoyable, reducing strain during long sessions.
How to Scan Old Photos with iPhone
Scanning old photos with an iPhone offers a straightforward way to preserve cherished memories. Users can efficiently digitize images without complicated equipment.
Using the Notes App
The Notes app provides a built-in scanning feature. Open a new note, tap the camera icon, and select “Scan Documents.” Position the photo in the frame; the app automatically captures it. After scanning, adjust the edges if necessary and save the photo. This method allows easy organization and access to scanned images directly within the app. Users can also share the scanned photos with family and friends quickly.
Exploring Third-Party Apps
Numerous third-party apps enhance photo scanning functionalities. Apps like Google PhotoScan and Scan Photos offer specialized features designed for high-quality digital reproductions. Simply download your preferred app, follow the on-screen instructions for capturing images, and utilize built-in editing tools. These applications often provide advanced features such as color correction and cropping, improving the final result. Users can effortlessly store and share their scanned memories, making digital archiving convenient and enjoyable.
Tips for Best Results
Achieving the best results when scanning old photos with an iPhone involves attention to detail in several areas.
Lighting and Angles
Proper lighting enhances the quality of scanned photos significantly. Natural light works best for reducing glare and improving color accuracy. Use a spot with indirect sunlight, such as near a window, for optimal results. Positioning the photo flat on a table ensures stability while scanning. Avoid shadows by angling the photo slightly away from direct light sources. Experimenting with different angles can reveal the best perspective, allowing the scanner to capture details without distortion.
Editing Scanned Photos
Editing capabilities can greatly improve scanned images. After digitizing, open the photo in the built-in editing tool or a third-party app for adjustments. Cropping removes unwanted borders, enhancing the focus on the image itself. Adjusting brightness and contrast helps bring out faded colors and details that may not appear in the original scan. Consider using features like color correction to restore the photo’s vibrancy. Saving edited versions ensures preservation of both the original scan and the enhanced image for future enjoyment.
Digitizing old photos using an iPhone is a rewarding way to preserve cherished memories. With simple steps and the right tools anyone can ensure that family history is safeguarded for future generations. By organizing and preparing photos beforehand the process becomes even smoother and more efficient.
Utilizing the scanning features in the Notes app or third-party applications enhances the quality of digital reproductions. This not only protects sentimental images from deterioration but also makes sharing and enjoying family stories easier than ever. Embracing this technology brings families closer together while celebrating their unique legacies.


